Bare Metal AVR: Building a Nine-Mode State Machine Without Any Framework
How I built a nine-mode state machine on an ATmega644P from scratch using bare metal C, writing directly to hardware registers with no framework, no HAL and no shortcuts. Still ongoing.
Bare-metal programming means writing code that runs directly on the microcontroller hardware with no operating system between your code and the chip. Every register access, every timing decision and every peripheral configuration is yours to write explicitly. Most embedded tutorials hide this behind a framework.
Arduino, HAL and CubeMX abstract away the hardware so you can get an LED blinking in five minutes without understanding a single register. That is fine for prototyping. It is not fine for learning. This project was a deliberate choice to do the opposite: write directly to hardware registers on an ATmega644P microcontroller with no library in between. To understand not just what the code does but what the silicon does when the code runs. The full source is in the avr-zac repository.
The Hardware
The AVR architecture - the foundation of the ATmega644P used in this project
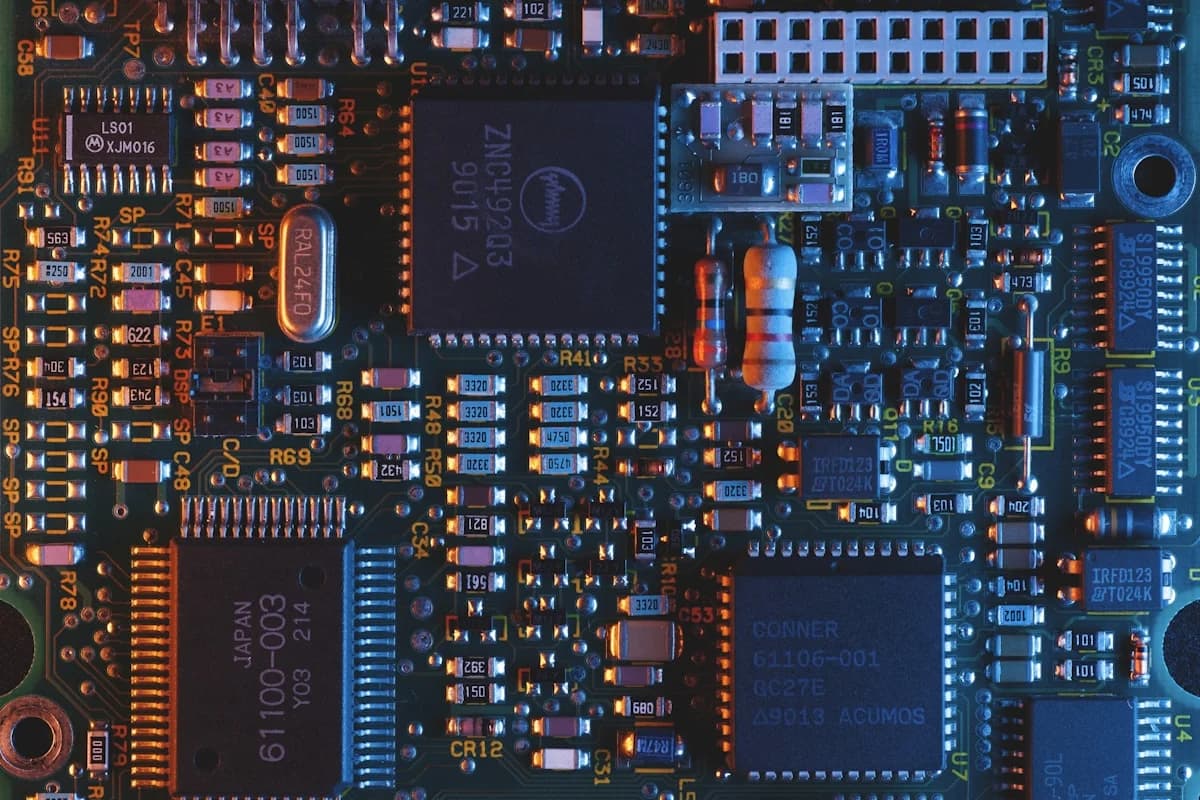
The ATmega644P is a DIP-40 AVR microcontroller running at 20 MHz on an external crystal. The PCB was designed by Richard Reeves, a lab technician at Aston University, who also provided components and guidance throughout this project. The board includes an LM317T voltage regulator and ten-way headers breaking out all 32 I/O pins. A Pololu USB AVR Programmer v2.1 handles flashing via STK500v2.
The breadboard components used for testing were: five LEDs, one button and one active buzzer. These changed between sessions as I progressed through the project.
Why Bare Metal?
When you use Arduino or a HAL, the framework handles the register configuration for you. You call digitalWrite() and the library writes to the correct DDRx and PORTx registers on your behalf. This is convenient but it means you never actually learn what those registers do or why. When something breaks you have no mental model to debug from.
Bare metal forces you to read the datasheet. Every single thing the microcontroller can do is described in the ATmega644P datasheet. You learn to navigate it. You learn that DDRB controls the data direction of Port B, that setting a bit high makes that pin an output and that PORTB controls the output state. That knowledge transfers to any microcontroller you ever touch.
The Project Progression
I worked through a structured set of learning projects before building the final state machine:
01.Fuse configuration and restoration reference
02.Double blink on PB0 using DDRB, PORTB and _delay_ms
03.Five LEDs cycling sequentially using bit shifting
04.Button driving a buzzer via polling using PIND
05.Button driving a buzzer via interrupt using ISR, EICRA and EIMSK
06.Four-mode state machine using enum, ISR and software debounce
07.Nine-mode state machine: the final build
The Nine-Mode State Machine
The final project is a state machine that cycles through nine modes on each button press. The mode state is held in a volatile variable updated inside an INT0 interrupt service routine with software debounce.
Mode 0 - Chase: LEDs light one by one in sequence
Mode 1 - Blink All: all five LEDs blink together
Mode 2 - Alternate: odd and even LEDs alternate
Mode 3 - PWM Fade: all LEDs fade in and out via software PWM
Mode 4 - Knight Rider: single LED sweeps left to right and back
Mode 5 - Binary Counter: LEDs count 0 to 31 in binary
Mode 6 - Random: LEDs display random patterns seeded by ADC noise
Mode 7 - Reaction Game: press button when green LED lights to win
Mode 8 - Tetris Melody: Tetris theme plays with LEDs synced to each note
Key Concepts I Learned
Interrupt service routines: the ISR keyword in AVR-libc defines a function that executes when a specific interrupt fires. The INT0 interrupt fires on a button press edge. Without debounce the button would register multiple presses from a single physical press, so I implemented a software debounce delay inside the ISR.
Software PWM: hardware PWM uses the timer compare match output automatically. Software PWM manually toggles the pin in a tight loop using precise timing. It is less efficient but teaches you exactly what PWM means at the signal level.
ADC noise as a random seed: the ATmega644P's ADC reading from an unconnected pin produces noise. This noise is unpredictable enough to seed a pseudo-random number generator, which I used for the random LED mode.
The Tetris melody mode was the most satisfying to build. Each note requires a specific frequency and duration. The buzzer is driven by toggling a pin at the required frequency using timer overflow interrupts. Getting the note timings right took several iterations of measuring against a reference.
Key Hardware Concepts Learned
Software PWM: hardware PWM uses the timer compare match output to toggle a pin automatically. Software PWM manually toggles the pin in a tight timing loop. It works but ties up the CPU, blocking other operations. For the PWM fade mode this meant the button interrupt still fires (interrupts preempt the main loop) but the timing-sensitive parts of the fade had to be handled carefully. Understanding this limitation pushed me to read the timer chapter of the datasheet properly.
ADC noise as a random seed: a floating (unconnected) ADC input picks up electrical noise from the environment. This noise is unpredictable enough to serve as a seed for a pseudo-random number generator. In practice I read the ADC from an unused pin on startup, use the least significant bits as the seed for avr-libc's random() and get different random patterns every power cycle without needing an external RTC or EEPROM.
The Tetris melody mode was the most satisfying to build. The Korobeiniki theme has 30 notes across two phrases. Each note requires a specific frequency and duration. The buzzer is driven by toggling a GPIO pin at the note frequency using timer overflow interrupts, with the LED pattern updating between notes to sync visually. Getting the note timings accurate required measuring against a reference recording and adjusting the tempo constant until it matched. The result is recognisable from several metres away.
What I Would Do Differently
Hardware PWM from the start rather than software PWM for the fade modes. Hardware PWM offloads the timing entirely to the timer peripheral so the CPU is free for other work. I would also add UART serial output in session one rather than session six. Seeing register values and state transitions in a serial monitor would have accelerated debugging every session significantly.
Reading the datasheet is not optional. It is the job.
- Something I understood about halfway through this project
Thanks to Richard Reeves for designing the PCB, providing components and offering guidance throughout this project.
This project is still ongoing. The nine-mode state machine documented here is the current milestone. Future sessions will add UART transmission, ADC reception and more advanced timing patterns. I will update this post as the project progresses.


Comments
Have a thought, correction or question? Sign in with GitHub - I read every comment and reply where I can.